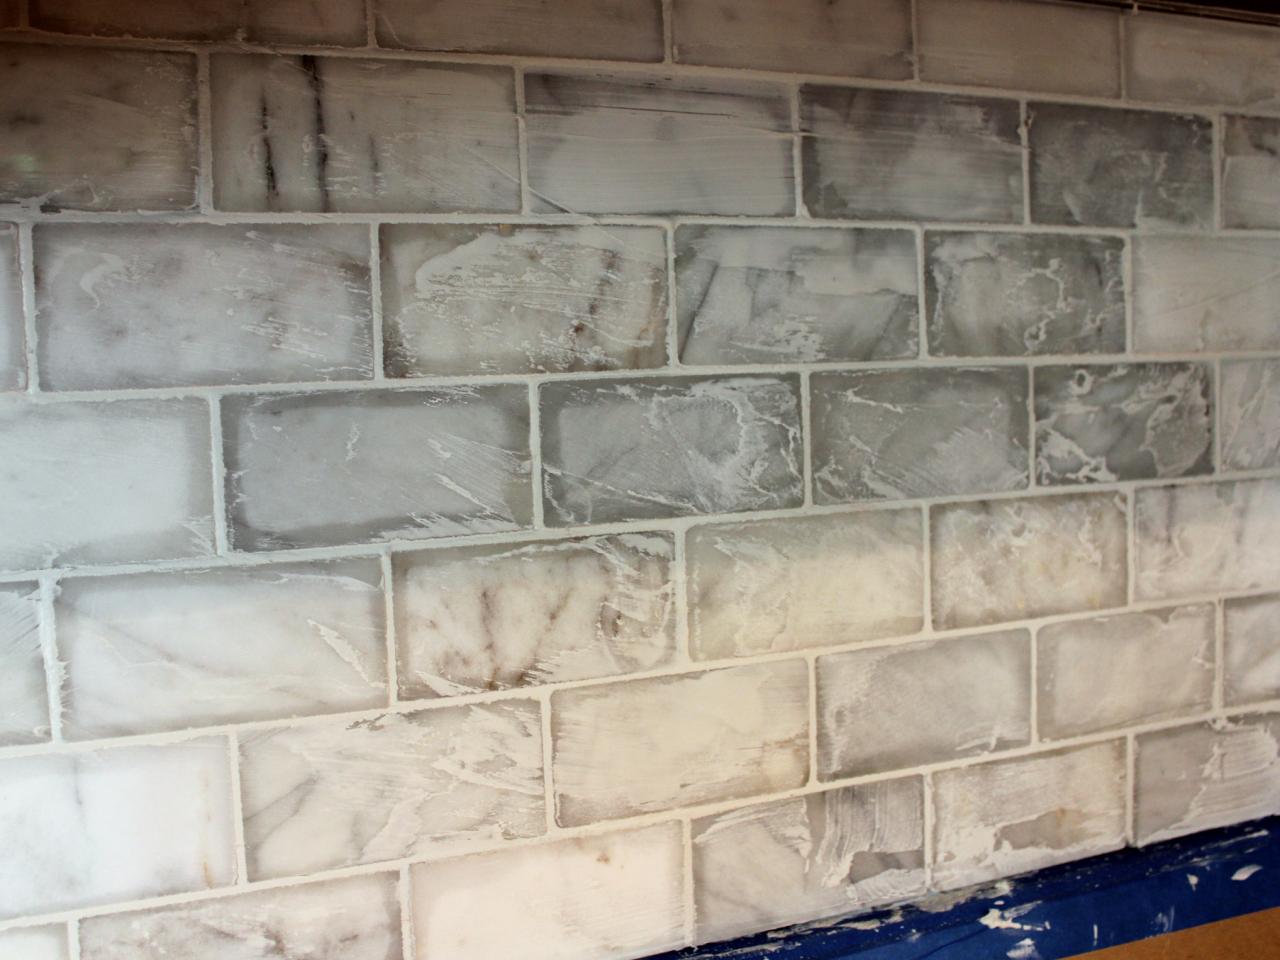
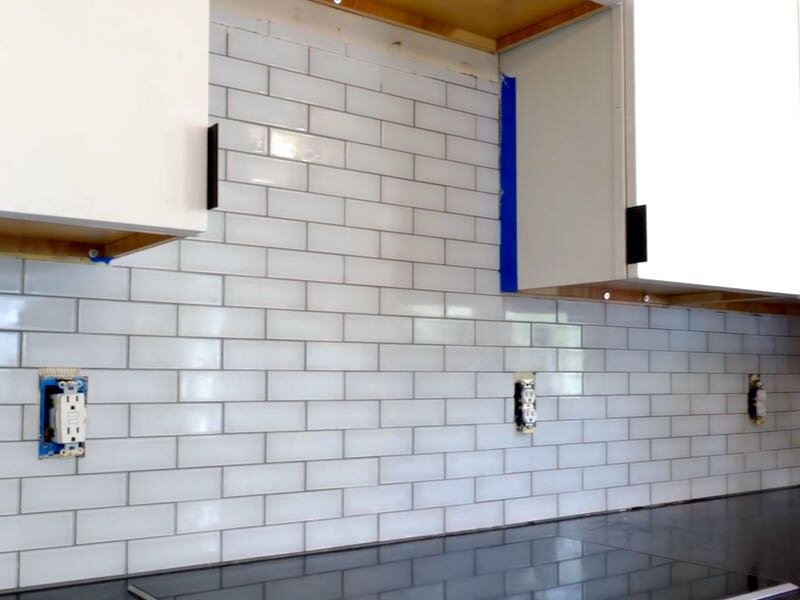
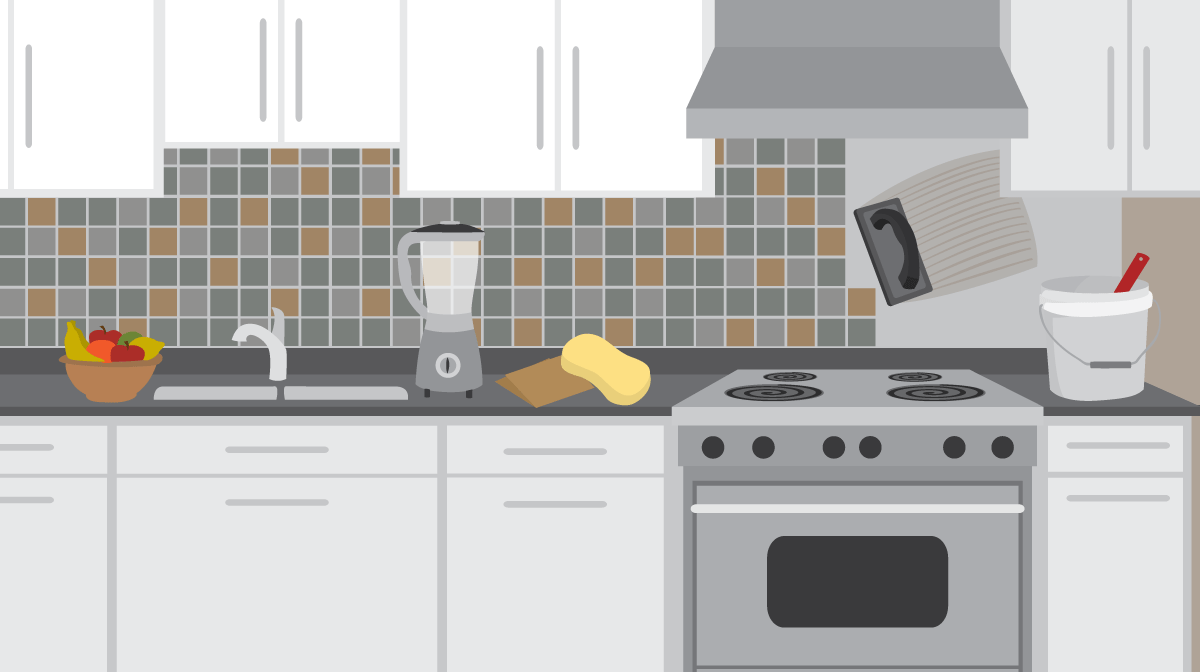
38 applying grout to backsplash
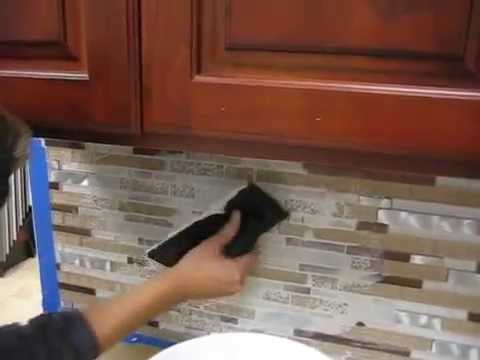
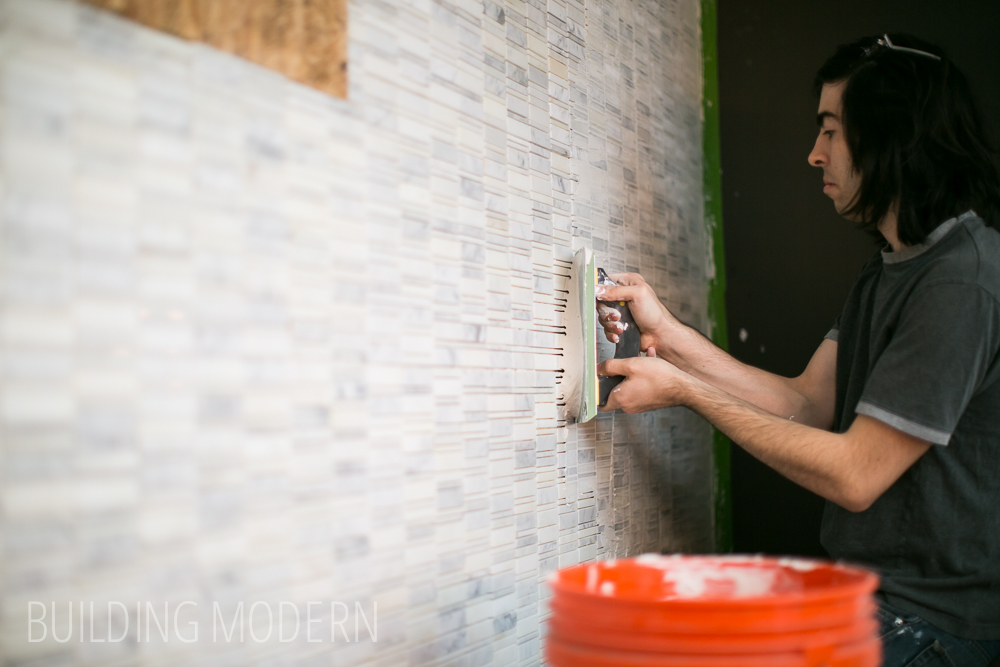
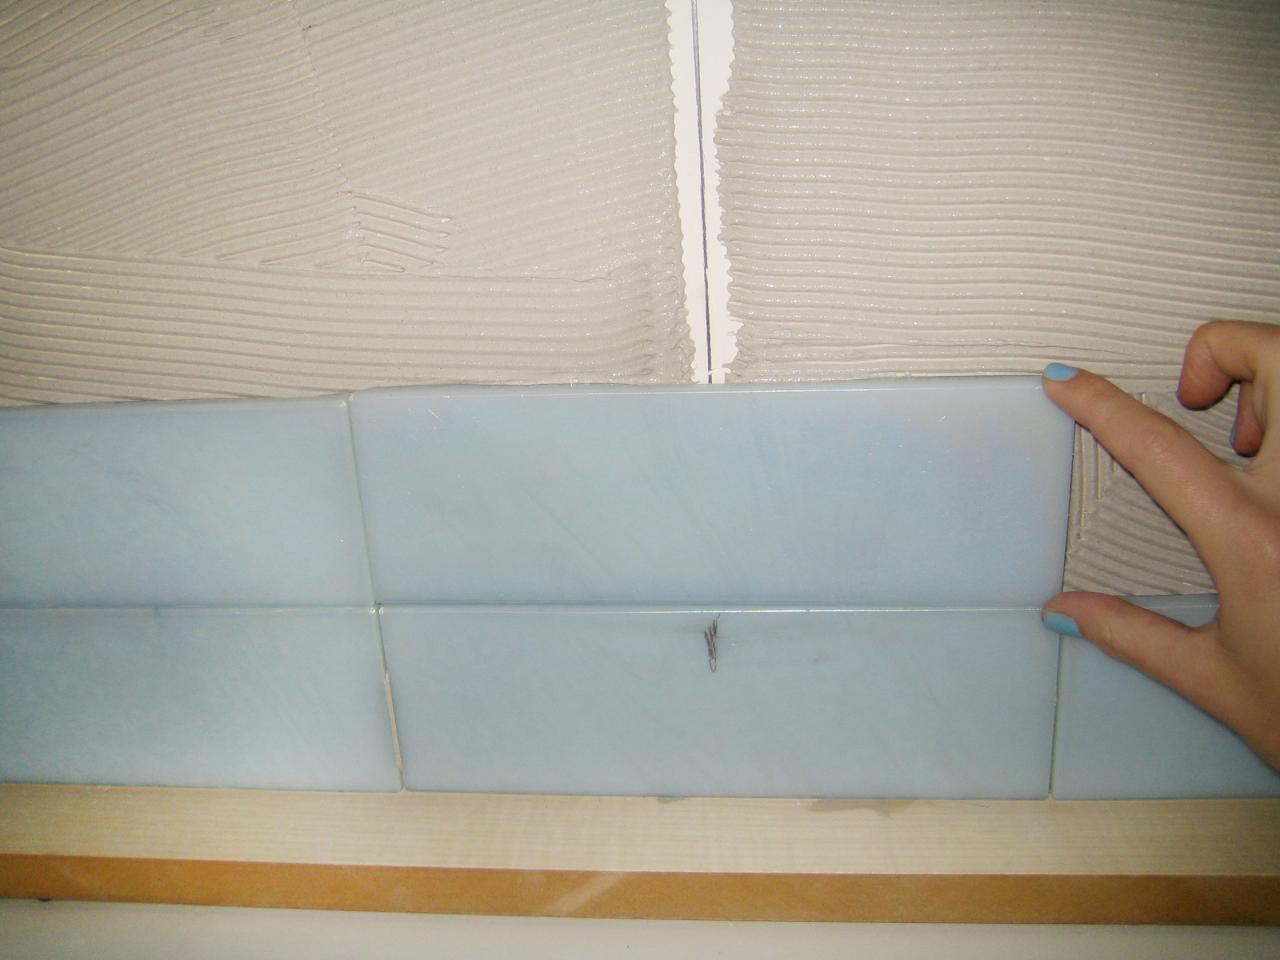
Afterward, install the backsplash tile in the appropriate spot, ensuring uniform grout lines with surrounding tiles. Once again, use a rubber float to ensure full contact between the tile and the wall. If any mortar oozes from the grout lines, use a thin object, such as a screwdriver, to carefully scoop out the excess mortar from between the tiles. Apply the Grout Apply the grout with a rubber grout float, filling the joints over a 5- to 10-square-foot area. Begin by scooping up a load of grout onto the grout float, using one end of the float. Do not cover the entire float with grout.
It is very easy to apply tile grout sealer to your backsplash in an afternoon. The process only requires a minimum of tools, most of which you probably already have or can easily purchase at a hardware store. First be sure the tile is completely clean so the grout sealer will stick. Clean with any good general purpose cleaner and rinse thoroughly.
/change-tile-grout-color-apply-colorants-1822577-hero-a83419b3ebfe404a9c330375091521d0.jpg)
Applying grout to backsplash
Grout won't do that for you. It has to be caulking. For my demonstration I've chosen a backsplash installation done with tumbled marble tiles, but every tile splash will be caulked no matter the type of tile used. For this particular splash I chose a sanded caulking made by Custom Building Products and sold at Home Depot. It matches the ... If you think the grout is successfully applied, let the grout dry for about 10 to 15 minutes. Then fill a second bucket with warm water and wipe away the excess grout from your backsplash tile with a sponge and warm water. Wipe the tiles until no grout remains on them. Dip the tip of the grout float into the container of grout and scoop out some grout. Apply this to the joints between the tiles of the backsplash, as well as into the joint between the edges of the...
Applying grout to backsplash. How Much Grout Do I Need For Backsplash? To bring everything to perspective, a 25-pound bag of dry grout, when mixed with water, is enough to grout about 200 square feet of about 4 1/4-inch square ceramic tile having ⅛-inch grout lines and ¼-inch thick. The grout coverage varies if you have tiles of smaller or larger size. Apply the grout diagonally across the tile joints to squish the grout into the joints (Photo 5). Use whichever side or corner of the float is necessary to fully compress grout into the entire joint. On vertical surfaces, apply grout upward. That way you won't drop so much on the floor. How to Whiten Grimy Grout Step 5 Clean off excess grout How do you protect tile backsplash from Grease? Apply sealant to your tiles and grout. To create a barrier between your backsplash and the food in your kitchen, apply a sealant to both the tile and grout. Sealant is water resistant and will protect even porous tile from damage. You can even periodically reseal your backsplash if necessary. Use a grout float to apply the grout to the backsplash. Work the grout into all the crevices, allowing at least four hours for it to cure. Step 7: Clean the Tiles. Use a clean, wet sponge to wipe away the murkiness the grout left behind on the tiles, ensuring the only grout remaining is between the tiles. Wipe dry with a clean cloth.
Apply the Grout Pour a quart to half gallon of grout on the tiles. Use a hard-edged rubber grout float, and hold it at a 45-degree angle. Spread the material in sweeping arcs, pressing it into the joints to fill them completely. Work in a small area at a time, roughly a 3- x 3-foot section. Use this method for both pre-mixed and powdered grout. 3 Allow the grout to a thoroughly dry (at least a few hours). Once completely dry, take the cloth and wipe away any remaining grout film from the backsplash tiles. After waiting at least 24 hours, seal the grout using the sealer product and a clean cloth if required. Always allow the sealant to cure before using the area. Option 2: Peel-and-stick tile backsplash mats are also available that bond instantly to wall surfaces when pressed firmly with a grout float. This type of stick-on tile backsplash allows you to tile and grout the same day, replacing traditional thinset and simplifying tile installation. Brand new and great video!!!: "How to install a toilet " https://www.youtube.com/watch?v=vfVzwc9Lixs --~--With some basic but very important tips I am teachi...
Sanded grout is typically used for a tumbled travertine backsplash to match the rustic look of these tiles and the wider grout lines. This can be used to fill the larger holes in the face of the tiles. Non-sanded grout usually works better to fill the smaller holes, though. Step 3 - Apply The Grout This is probably the most important step—actually applying the grout to the backsplash. Start by mentally breaking the backsplash into separate, smaller sections, focusing on one section at a time. Apply the mixture by spreading the substance over the tiles using a float. Once the grout is fully dry, usually 24 hours to three days later, apply grout sealer to protect your backsplash from staining. After the sealer is dry, you can add a small amount of latex caulk to the base of your backsplash where it rests against your countertop. Replace your appliances and cookware. Restore the power to your electrical outlets. The seam between your backsplash and countertop should be at least one eighth of an inch. If you leave this much space, you will have a bit extra in case you need to touch up the caulk or the grout later. It is also a good idea to keep some extra grout or whatever caulk you may have left over for these possible touch ups. Lay a Thick, Smooth Layer
How to Change Grout Color
Do you grout between counter and backsplash? After waiting at least 24 hours, seal the grout using the sealer product and a clean cloth if required. Always allow the sealant to cure before using the area. Caulk the backsplash along the windows, any corners, and along countertops by applying beads of caulk.

How to Apply Grout To Backsplash Correctly
Grout is most commonly used between tiles for example in a kitchen backsplash and caulk is used to fill space like the wall joint between the countertop and backsplash. Grout comes as a dry powder and when mixed with water becomes adhesive. Caulk is a semi-liquid latex or silicone-based product.
How to Install a Marble Tile Backsplash | HGTV
Watch as Better Homes and Gardens shows you how to grout a backsplash! This DIY project cleans up your kitchen tile. After installing the tile wall on your k...
How to Grout a Backsplash
Apply the Grout. After allowing the mastic to dry and the backsplash to set in place overnight, mix up some unsanded grout (follow the directions on the bag) and apply it to your backsplash diagonally. Make sure not to fill in any of those gaps on the edges or along the top of the countertop - again, that's to be caulked later. ...
How to Grout a Kitchen Backsplash
Use the rubber float to apply the grout, using a diagonal motion to shove it firmly into the cracks. I like the smaller float because by this time, my hand was claw-like and everything hurt. It also was easier to maneuver than the larger one, because backsplashes are not very large.
Protect Your Kitchen Backsplash with Grout Shield Grout Seal ...
Apply Grout After its slaking period, stir mortar. Dip one end of the grout float into bucket and apply to the wall, using enough pressure to work grout into the spaces between tiles. Working quickly, apply grout from multiple angles to minimize gaps in grout and ensure even coverage.

Subway Tile Backsplash Tutorial For The Laundry Room
Use a rubber float to apply the grout to the tile joints, pressing the grout into the tile at a 45° angle. When the grout starts to set, go over the tile surface multiple times with a sponge dampened with clean water to wipe off any excess grout. After the grout has dried, use a soft cloth to remove any grout haze from the surface.
How To Install Subway Tile 🛠Installing TILE BACKSPLASH for ...
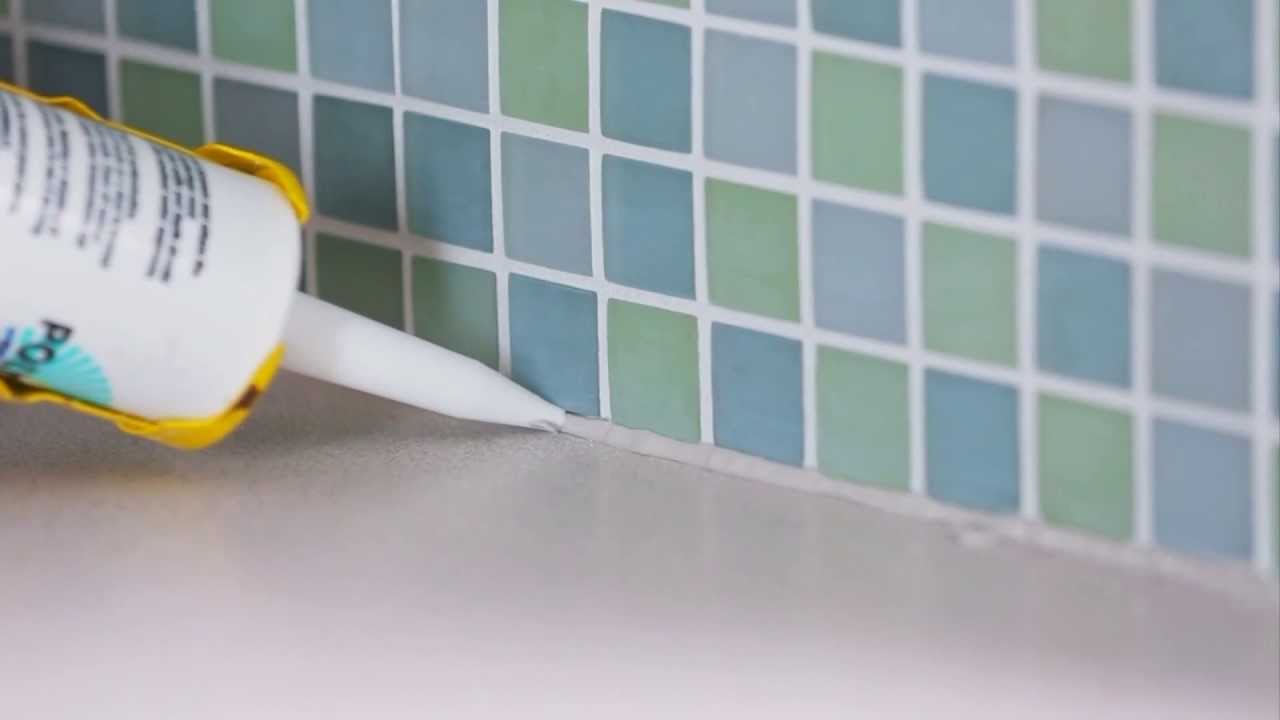
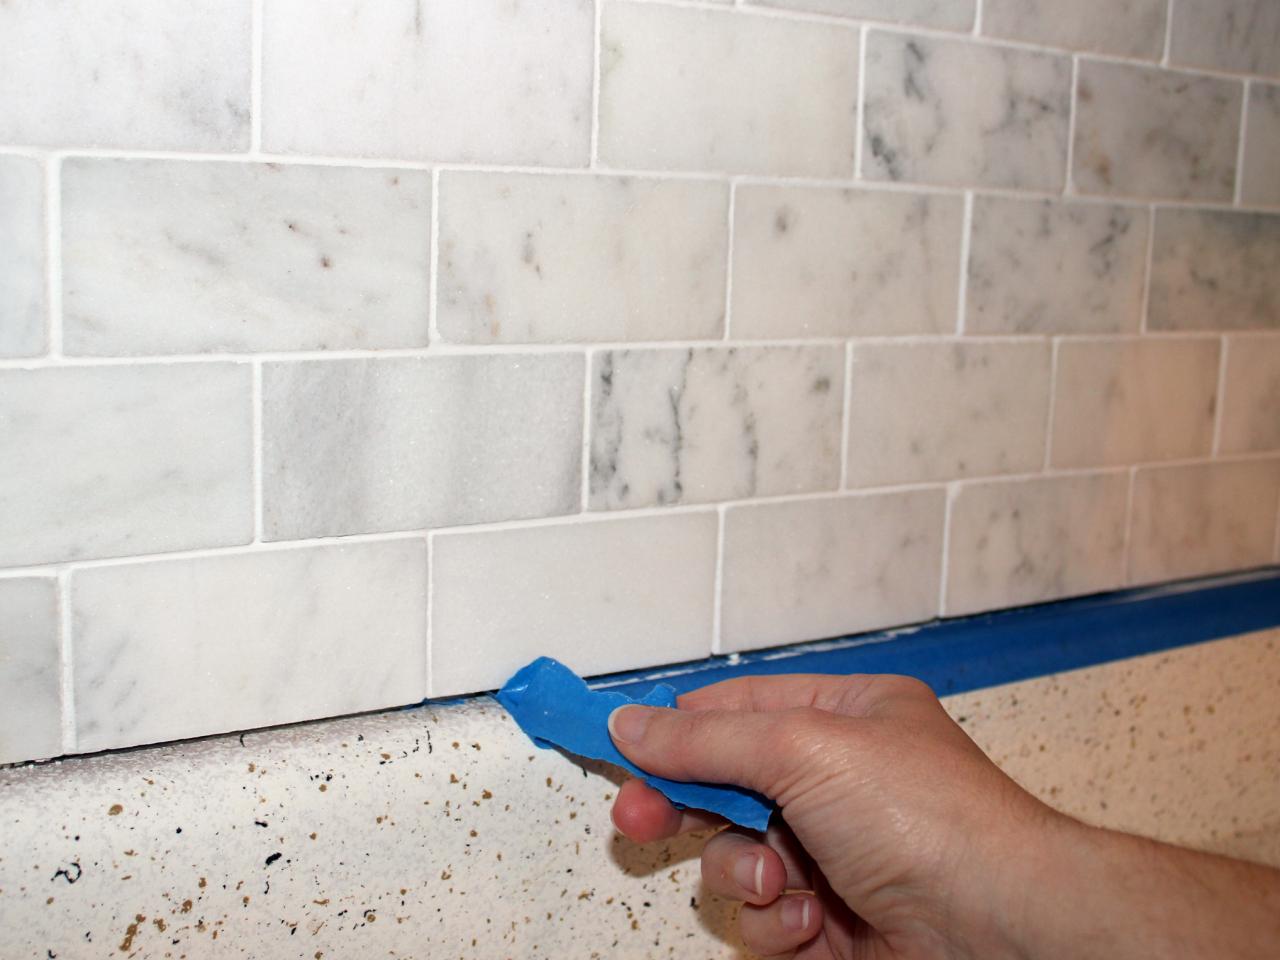
To give the edge a clean, water-tight finish, place a piece of masking tape one grout joint away from the edge of the last tile. Fill this gap between the tile and the masking tape with a smooth bead of caulk. This will finish the edge without extra tiles.

Grouting Tile Backsplash
If your tile was recently installed and there is some grout haze left behind or if you have used the backsplash for a long time without regular cleaning it is a good idea to use a more powerful cleaner like Miracle Heavy Duty Cleaner. It is designed to remove oils, greases, mineral deposits and grout haze!
Insider Tips for a Successful DIY Metal Mosaic Backsplash Install
In this video I show how to grout a tile backsplash as I nearly wrap up my laundry remodeling project. In this video I discuss what type of tile grout to use...
How to Install a Backsplash | Acme Tools
Dip the tip of the grout float into the container of grout and scoop out some grout. Apply this to the joints between the tiles of the backsplash, as well as into the joint between the edges of the...
How To Install A Subway Tile Kitchen Backsplash | Young House ...
If you think the grout is successfully applied, let the grout dry for about 10 to 15 minutes. Then fill a second bucket with warm water and wipe away the excess grout from your backsplash tile with a sponge and warm water. Wipe the tiles until no grout remains on them.
How to Tile Your Kitchen Backsplash in One Day | Fix.com
Grout won't do that for you. It has to be caulking. For my demonstration I've chosen a backsplash installation done with tumbled marble tiles, but every tile splash will be caulked no matter the type of tile used. For this particular splash I chose a sanded caulking made by Custom Building Products and sold at Home Depot. It matches the ...
Grouting the backsplash
Installing and Grouting Tile: 50 Tips and Tricks - Abby Lawson
How to Install a Kitchen Backsplash - The Best and Easiest ...

Saving Etta: Installing the Tile Backsplash & a Mistake I'll ...

Lovely Imperfection - 5 Reasons To Use Epoxy Grout | Lovely ...
/cdn.vox-cdn.com/uploads/chorus_asset/file/19489539/howto_tilebsplash_01.jpg)
Backsplash Bonanza - This Old House

How To Grout A Kitchen Backsplash In 7 Easy Steps – The RTA Store

Sanded Grout VS Unsanded Grout - The Tile Installations ...

How To Tile a Backsplash - Old House Journal Magazine
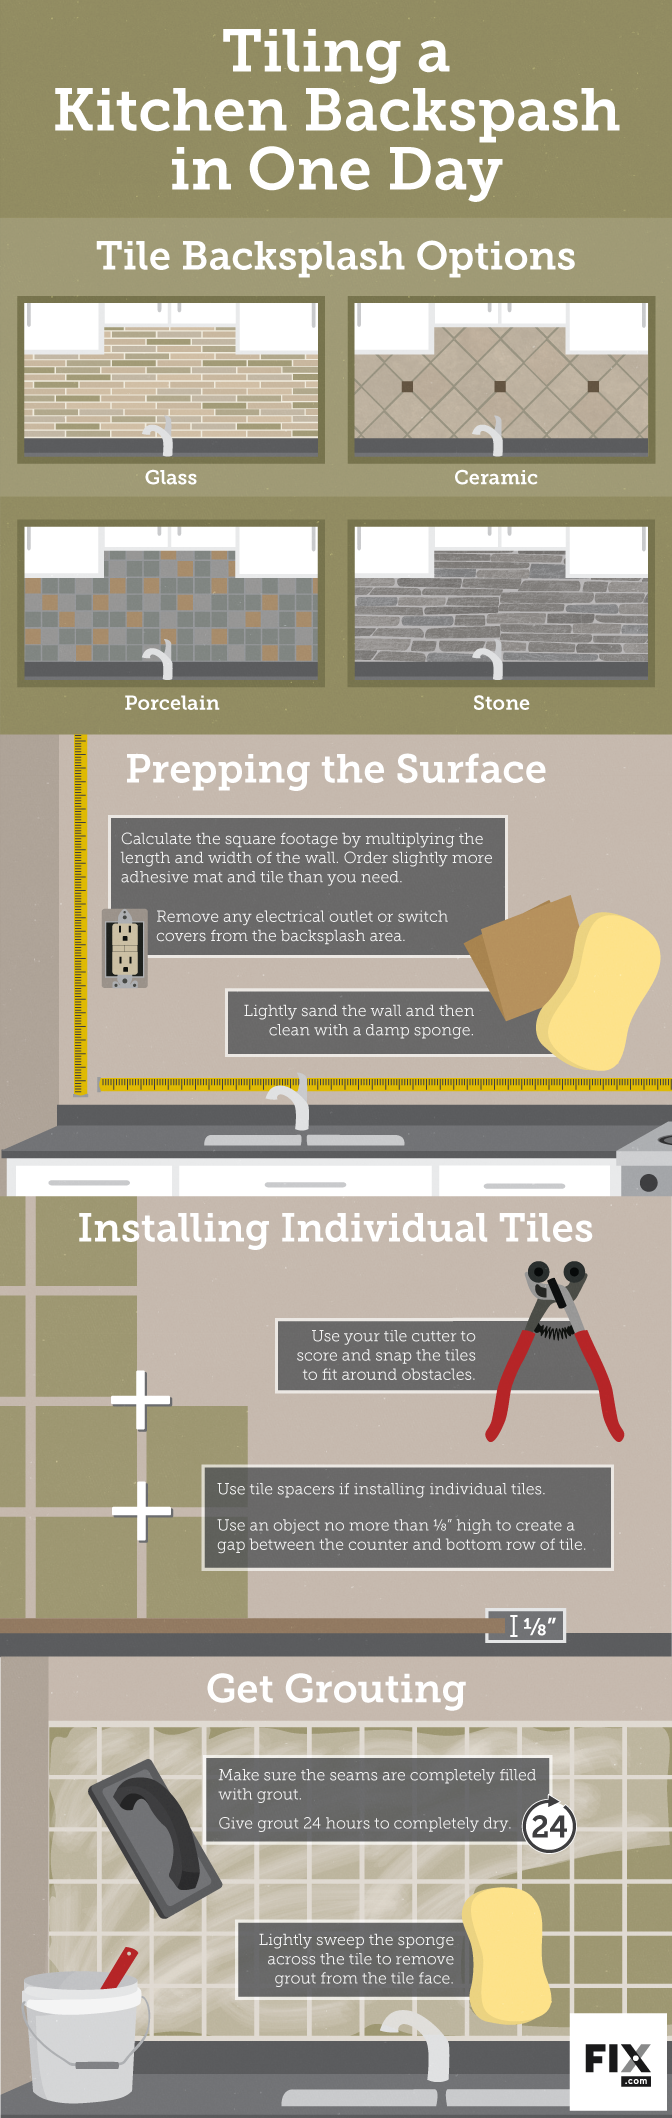
How to Tile Your Kitchen Backsplash in One Day | Fix.com
How to Seal Your Kitchen Backsplash

How to Install a Kitchen Tile Backsplash | True Value
tile backsplash with white grout - nightmare to maintain?

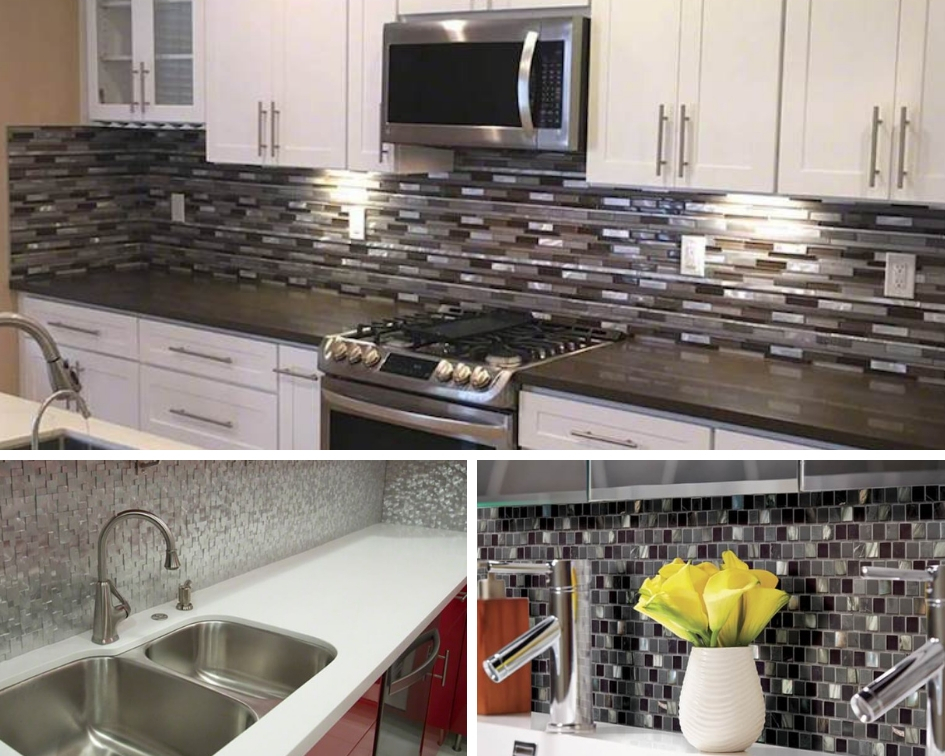
What Grout Color Should I Choose for a Metal Tile Backsplash ...
DIY Kitchen Backsplash (Part 5): Grouting Backsplash Tiles
F&D Start to Finish: Install A Mosaic Tile Backsplash
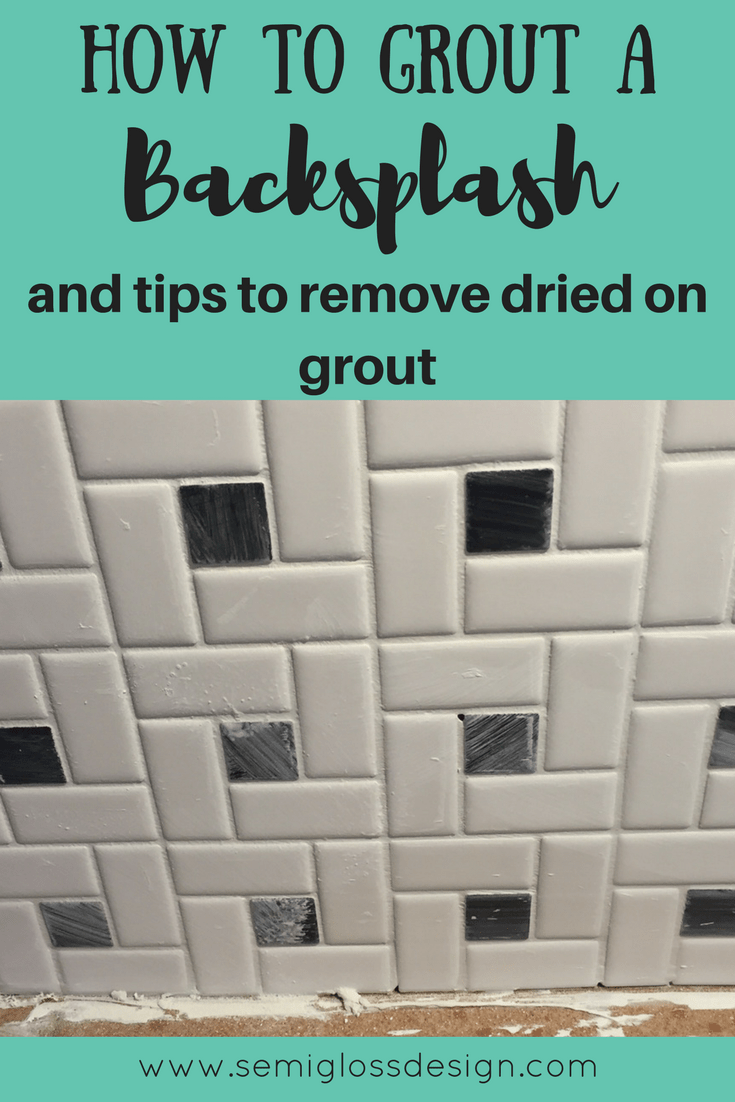
Don't Make These Mistakes While Grouting - Semigloss Design

💥HOW TO GROUT A SUBWAY TILE BACKSPLASH ○ GROUTING A DIY ...
DIY Marble Subway Tile Backsplash: Tips, Tricks and What NOT ...
Kitchen Update: Add a Glass Tile Backsplash | HGTV
How to Grout Tile Backsplash | Apartment Therapy
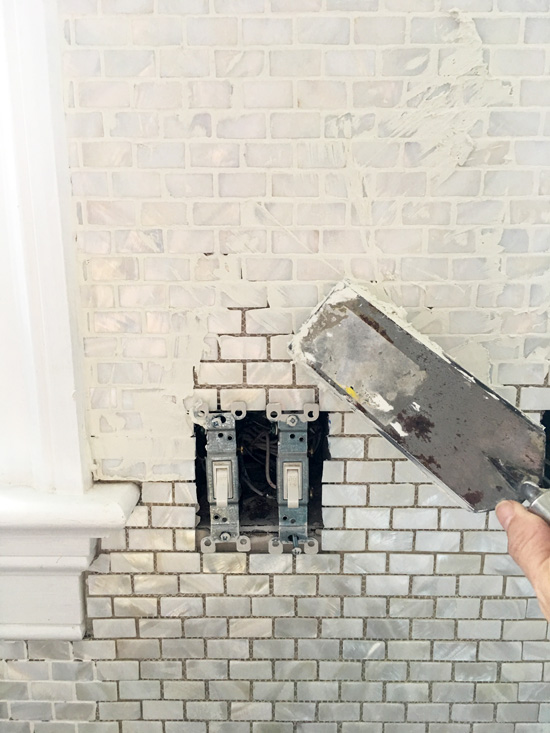
How to Install a Mother of Pearl Tile Backsplash ...
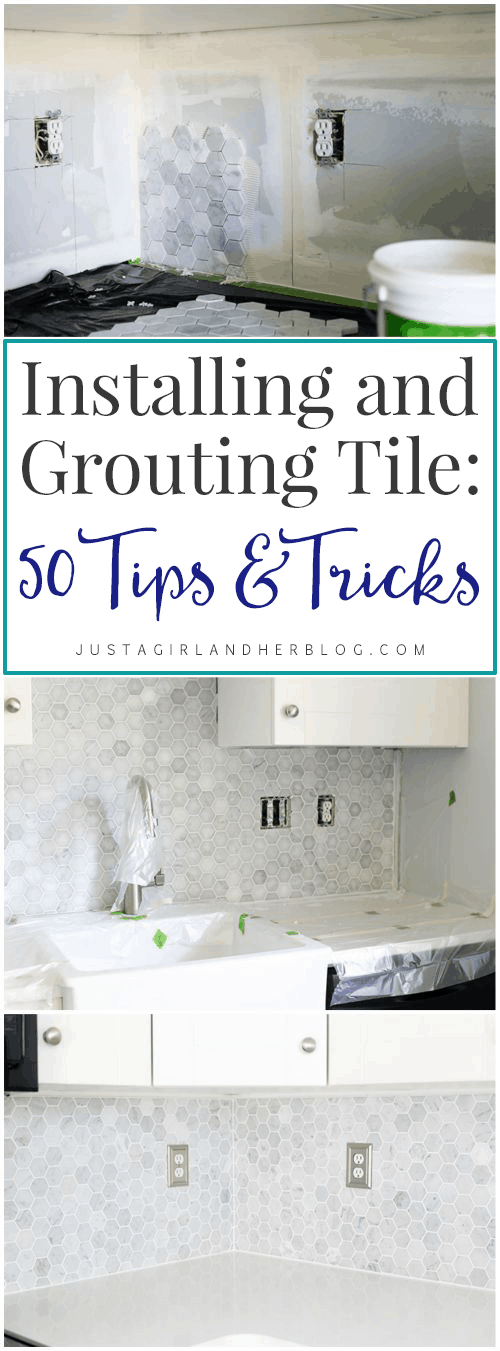
Installing and Grouting Tile: 50 Tips and Tricks - Abby Lawson
How to Install a Marble Tile Backsplash | HGTV

How to Grout a Tile Backsplash Like a Pro
0 Response to "38 applying grout to backsplash"
Post a Comment